.png?height=120&name=Logotype+Lettrine%20-%20Horizontal%20-%20Renvers%C3%A9%20(1).png)
Time Approval allows you to approve your employees' time entries.
This approval can be done in different ways.
Approve one time entry at a time
Approve all time entries for a human resource
Approve all time entries for a specific period
Approve time entries from a task
Reject approval of a time entry
Influence of approval on mobiles
Approve one time entry at a time
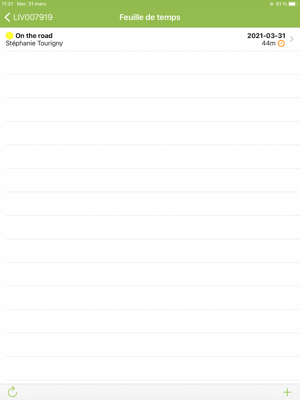
1. In the calendar interface of the Timesheet module, click on the time entry to be approved.
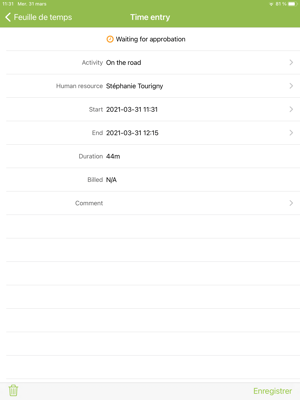
2. Review the information on the time entry sheet.
3. Click Approve.
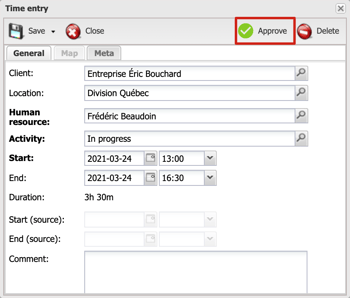
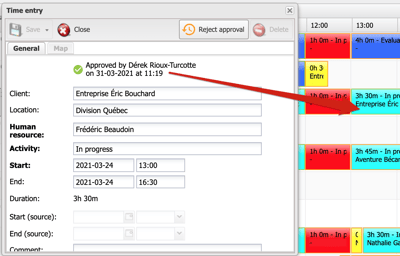
4. The time entry is now approved.
The name of the approver as well as the date and time the time entry was approved are indicated in the record.
The time entry in the calendar is now framed in green.
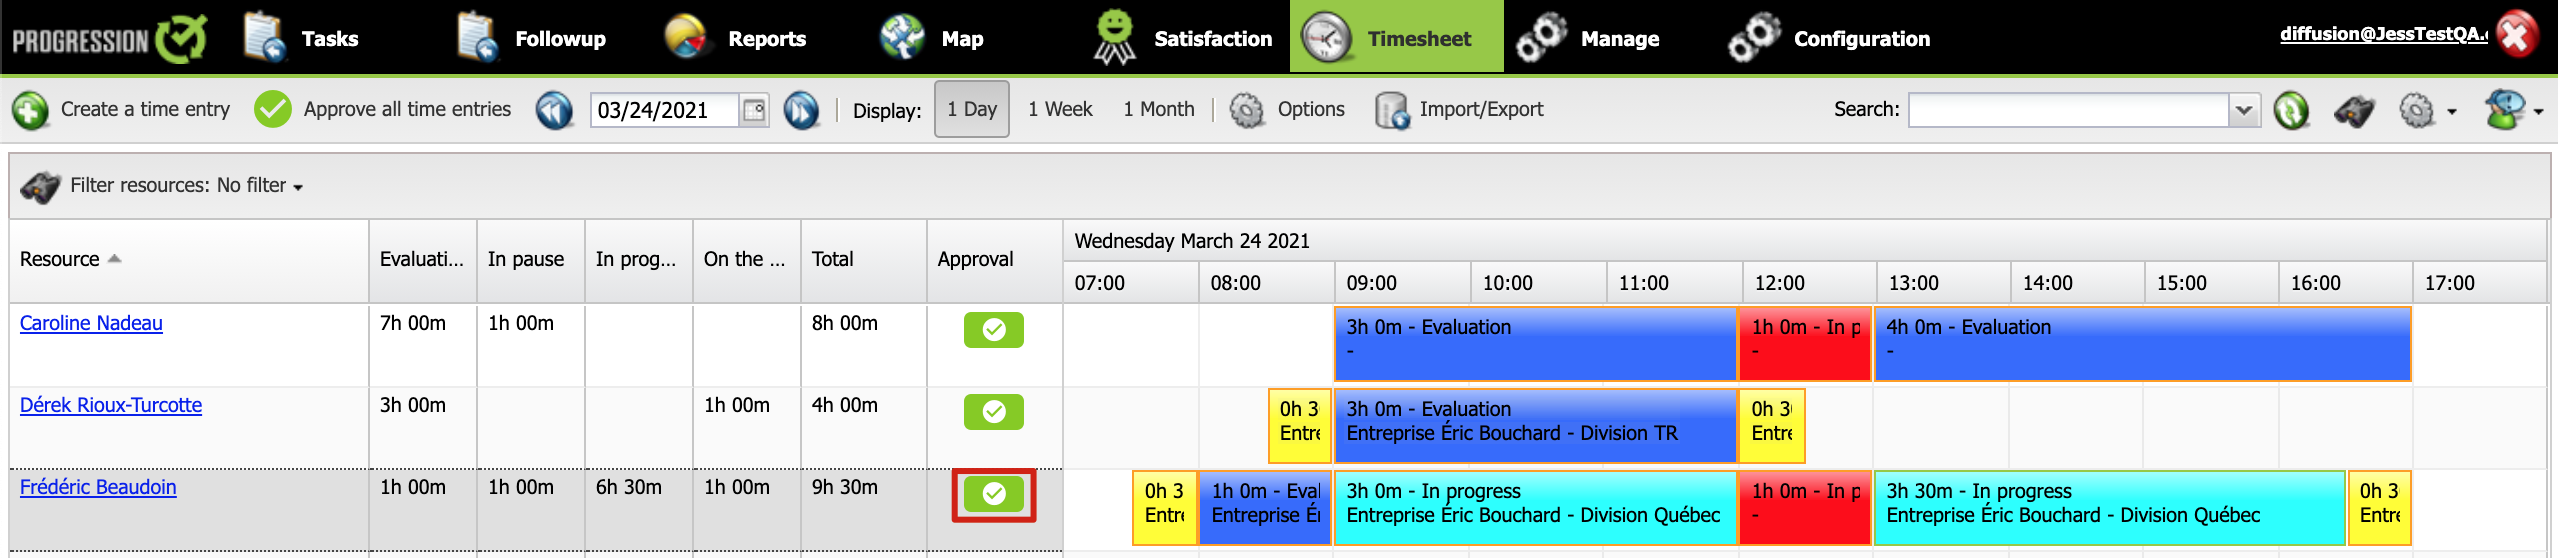
Approve all time entries for a human resource
1. In the calendar interface of the Timesheet module, click on the button next to the human resource.
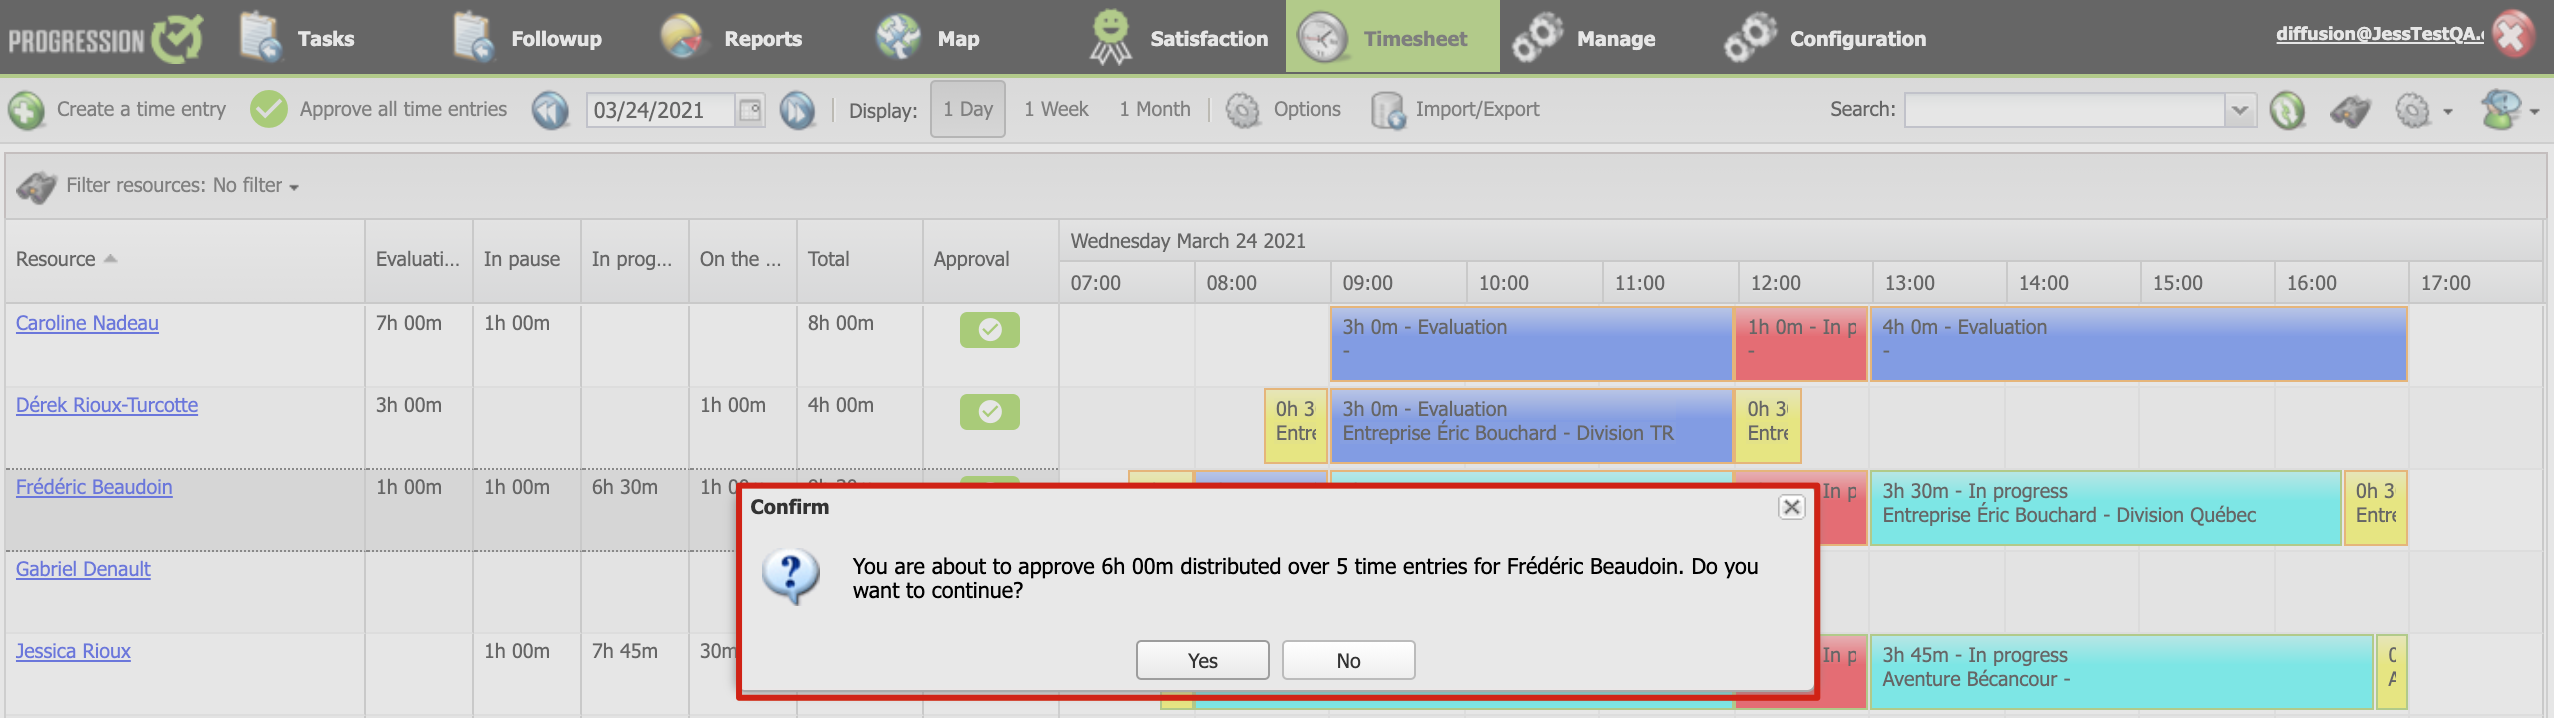
2. A confirmation message will inform you of the total time and the number of time entries you are about to approve.
Click Yes to confirm the approval.
3. The time entries included in the displayed period for this human resource are now all approved.
For this reason, the button is now disabled.
All approved time entries are now framed in green.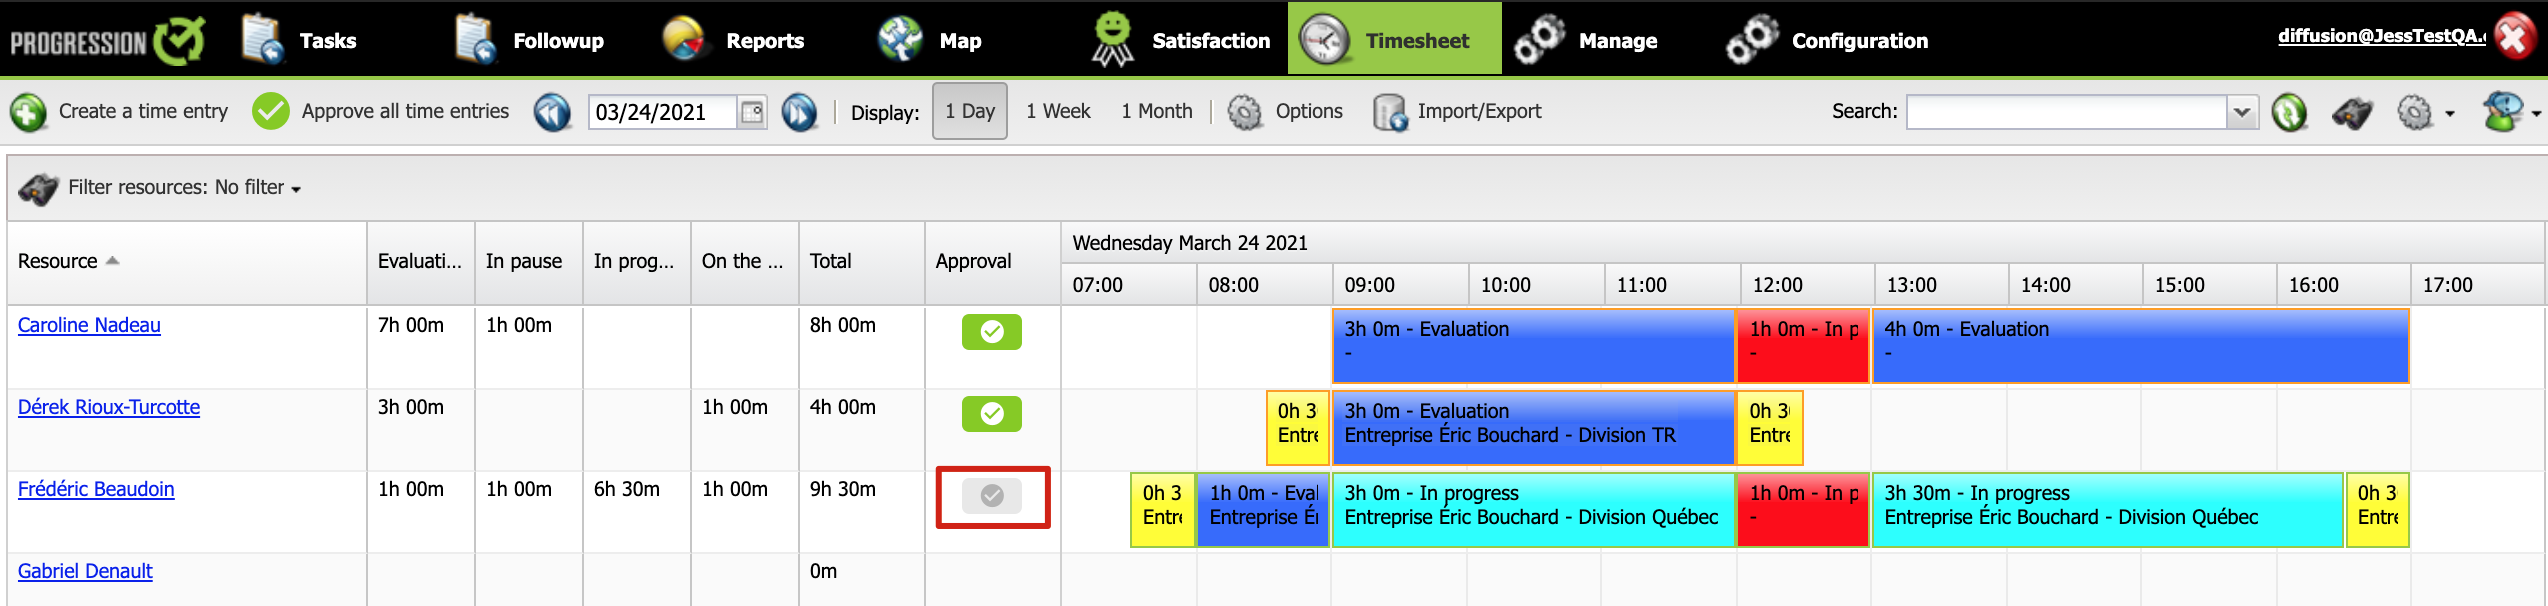
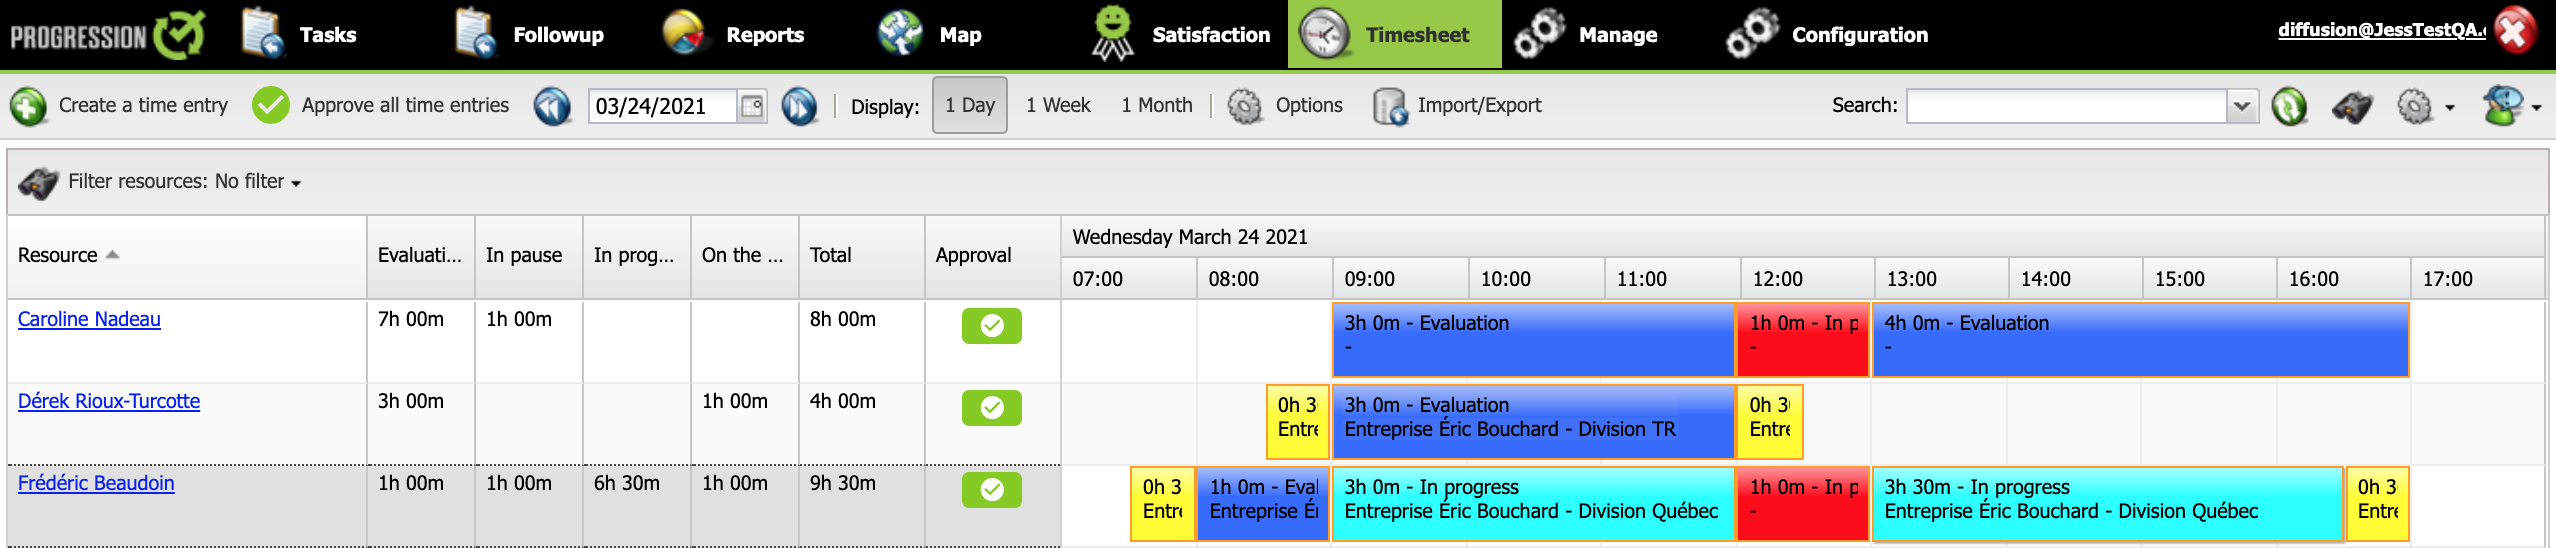
Approve all time entries for a specific period
1. In the calendar interface of the Timesheet module, click the Approve all time entries button.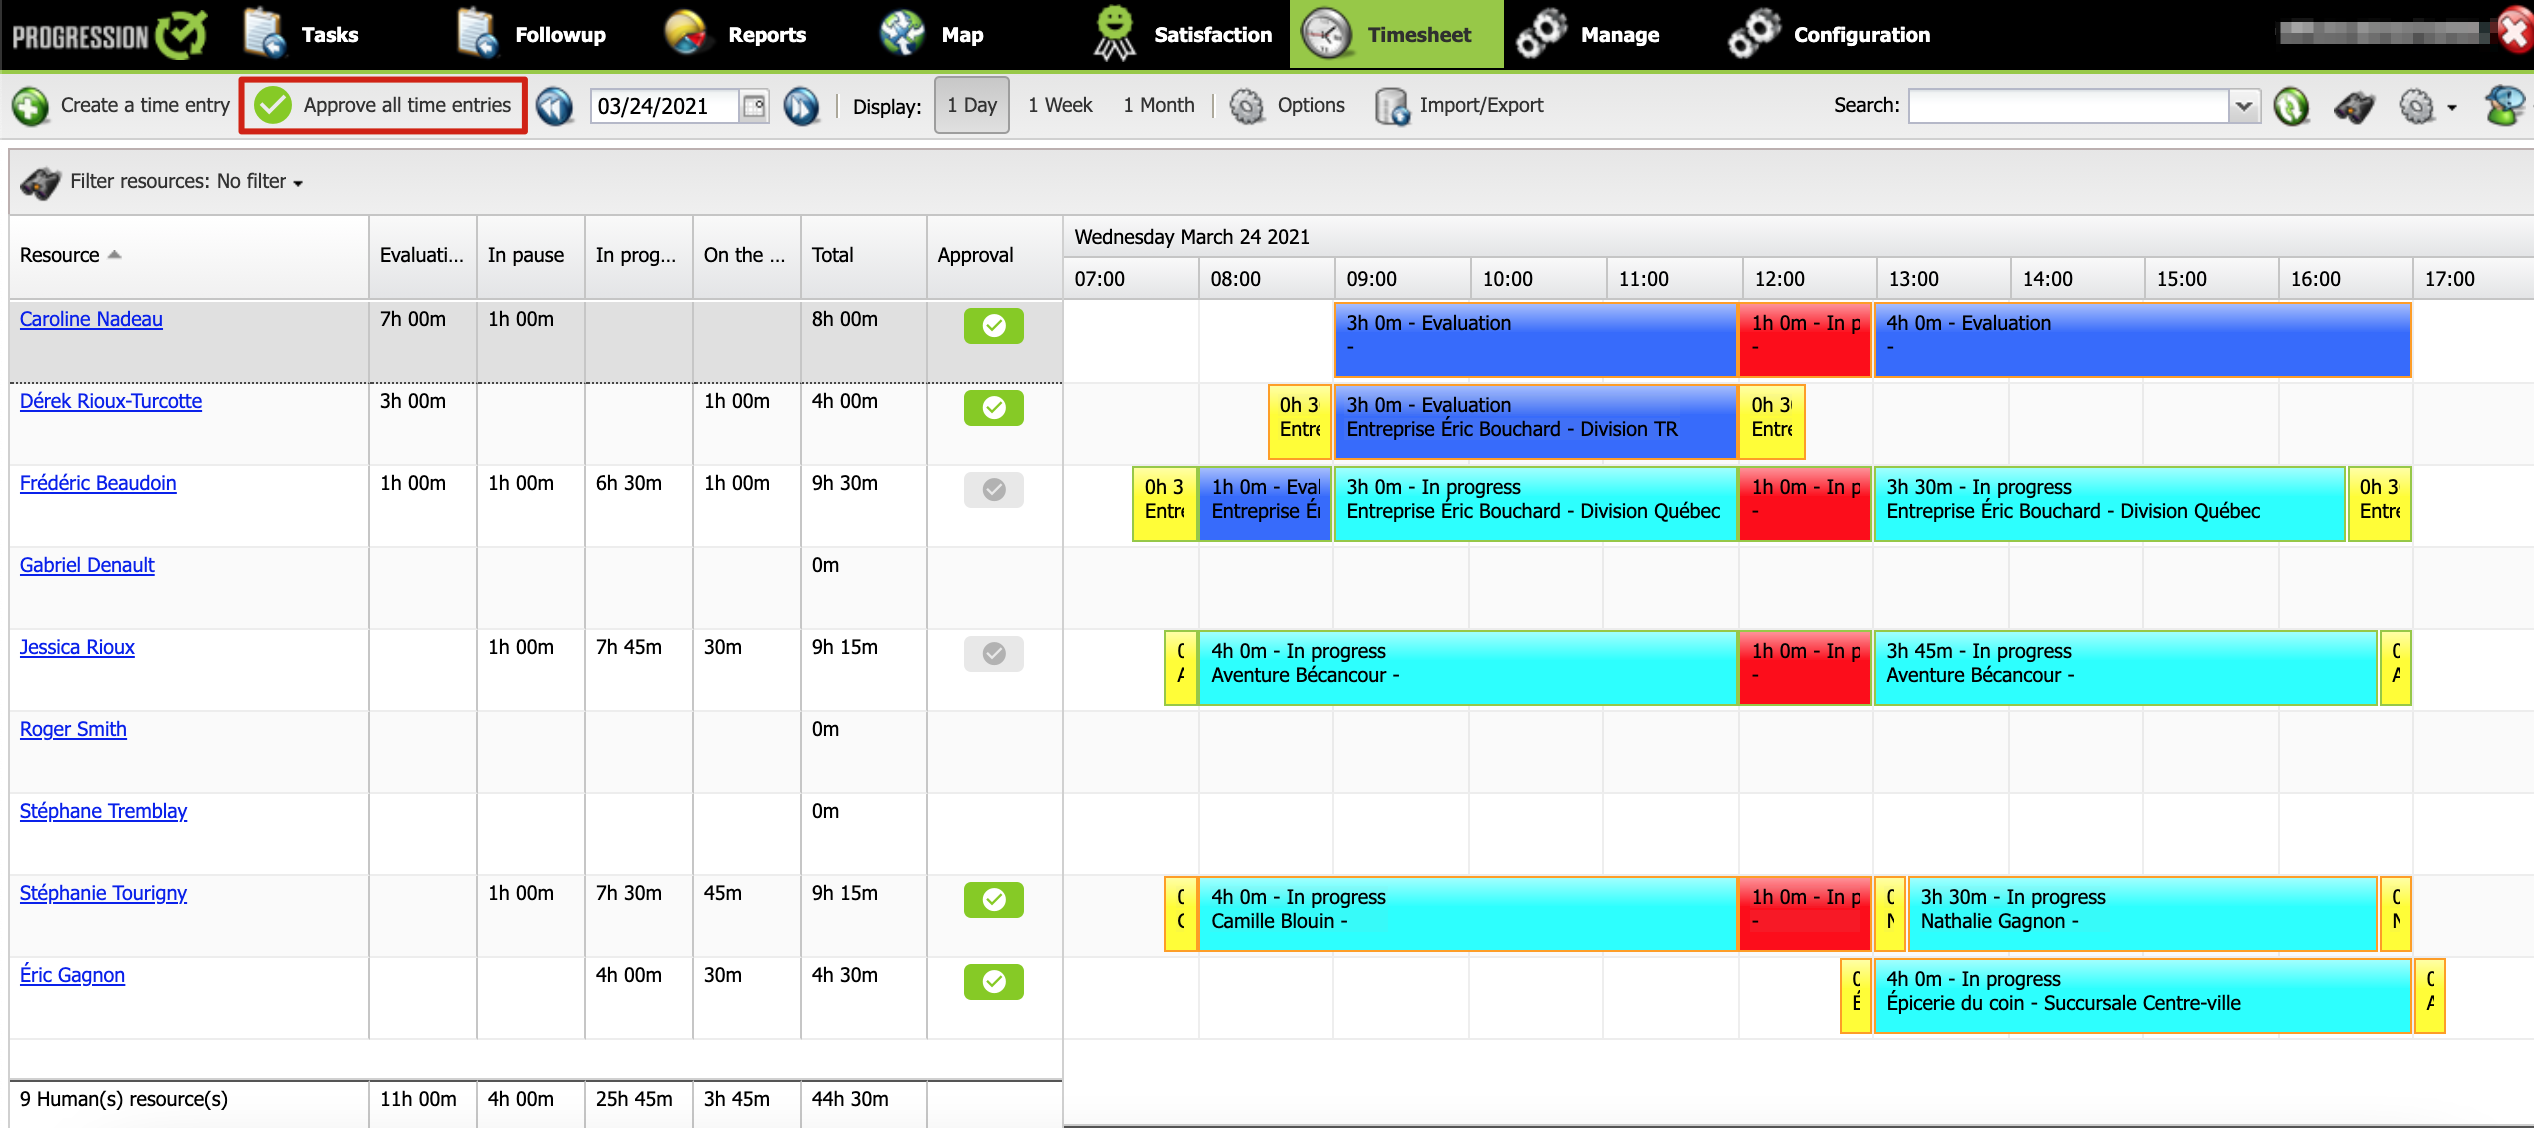
2. A confirmation message will inform you that you are about to approve all time entries for the selected period (e.g. Wednesday, March 24, 2021), for all human resources displayed.
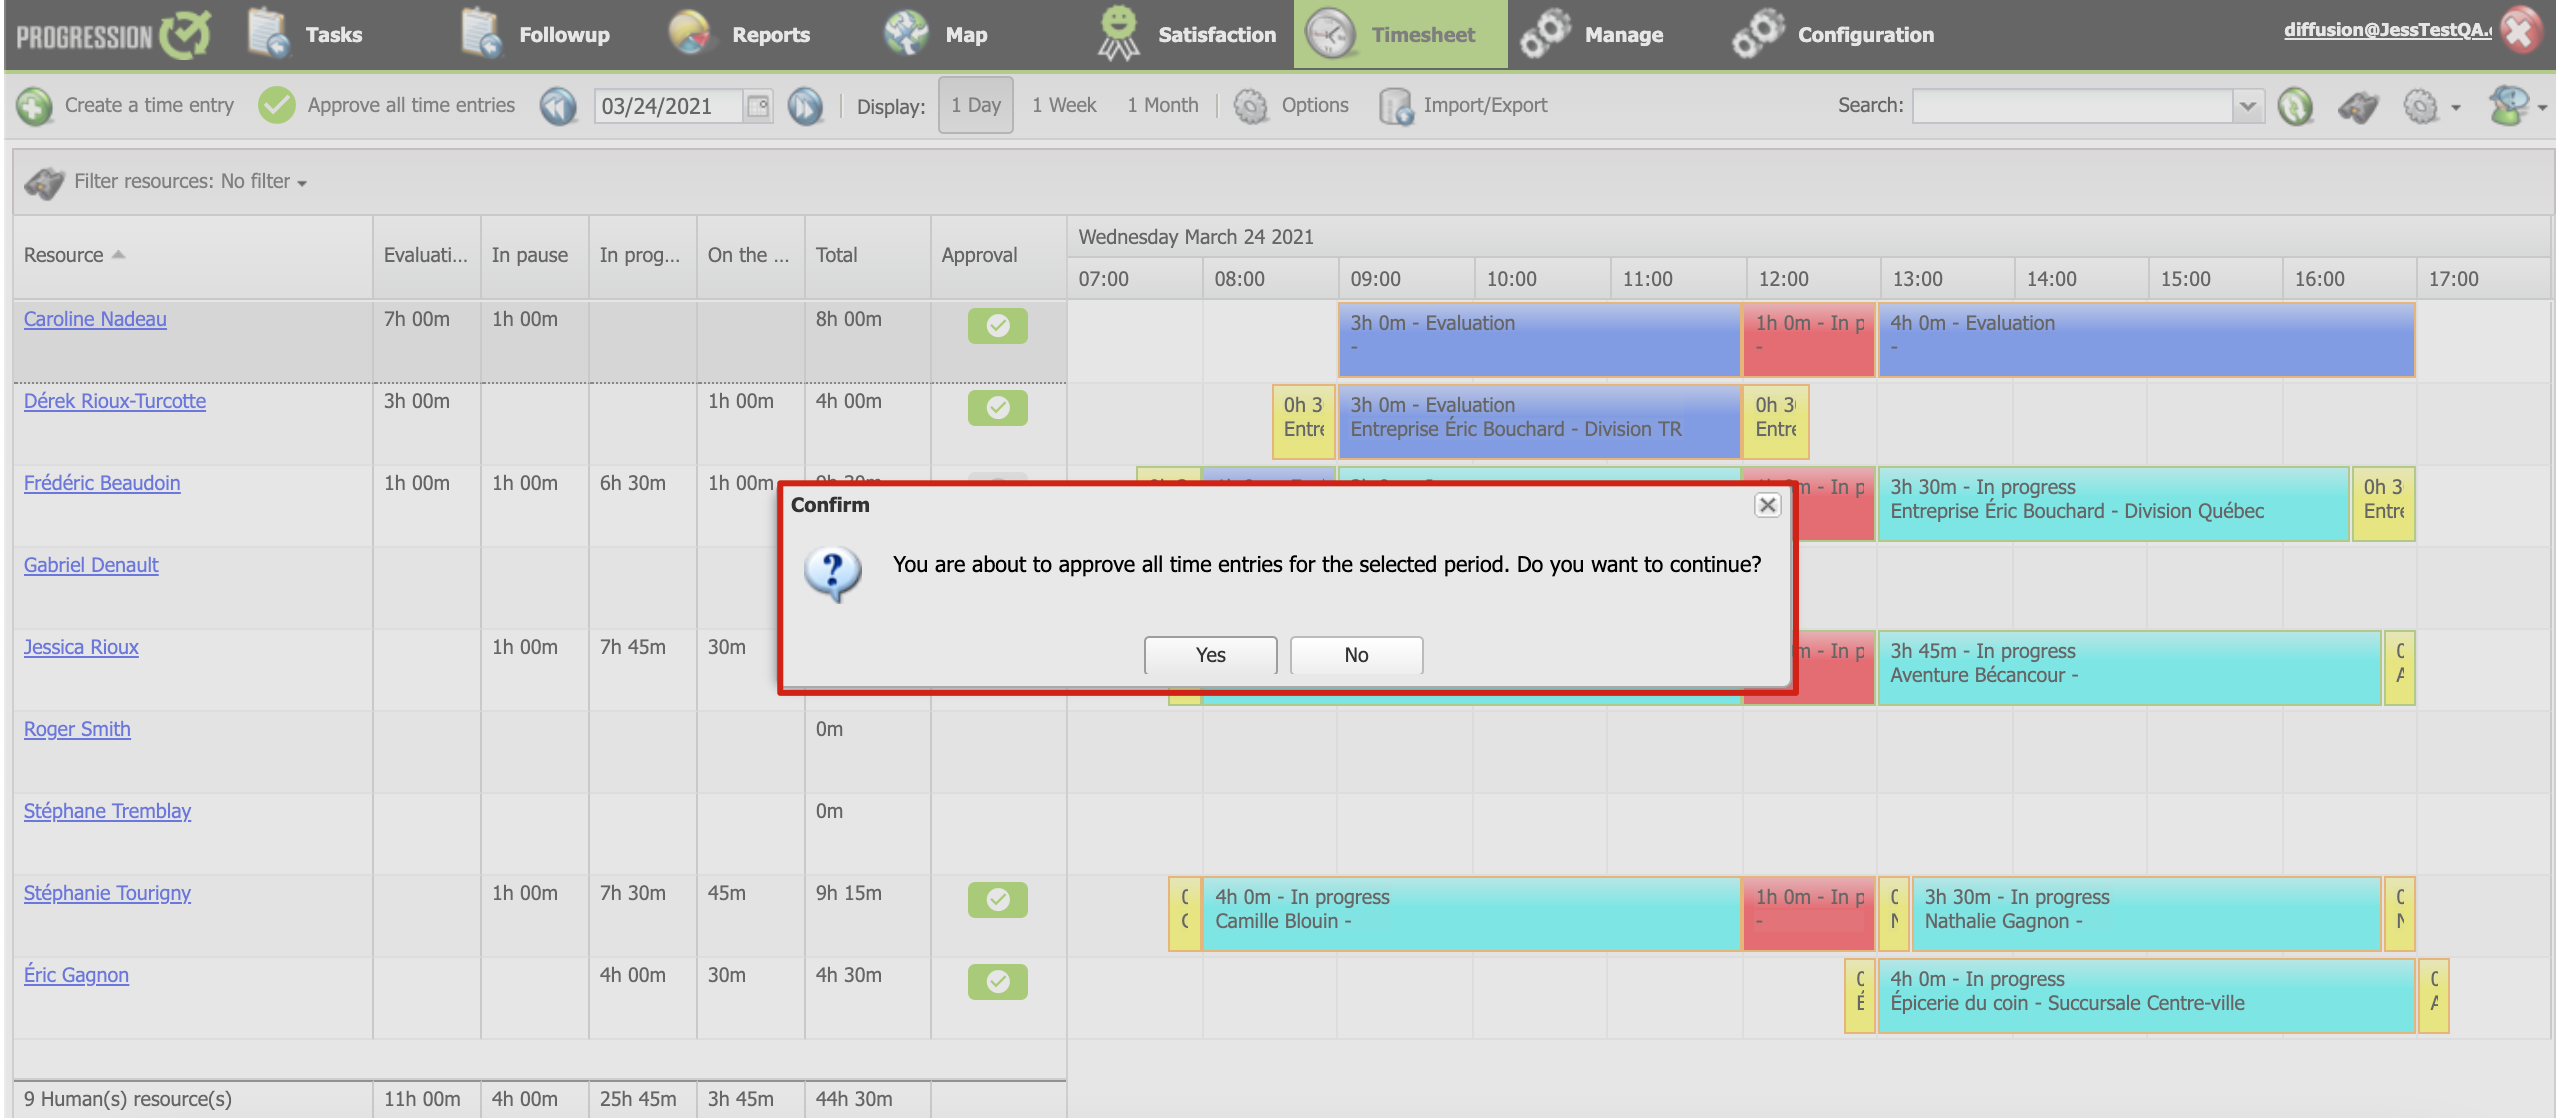
Click Yes to confirm the approval.
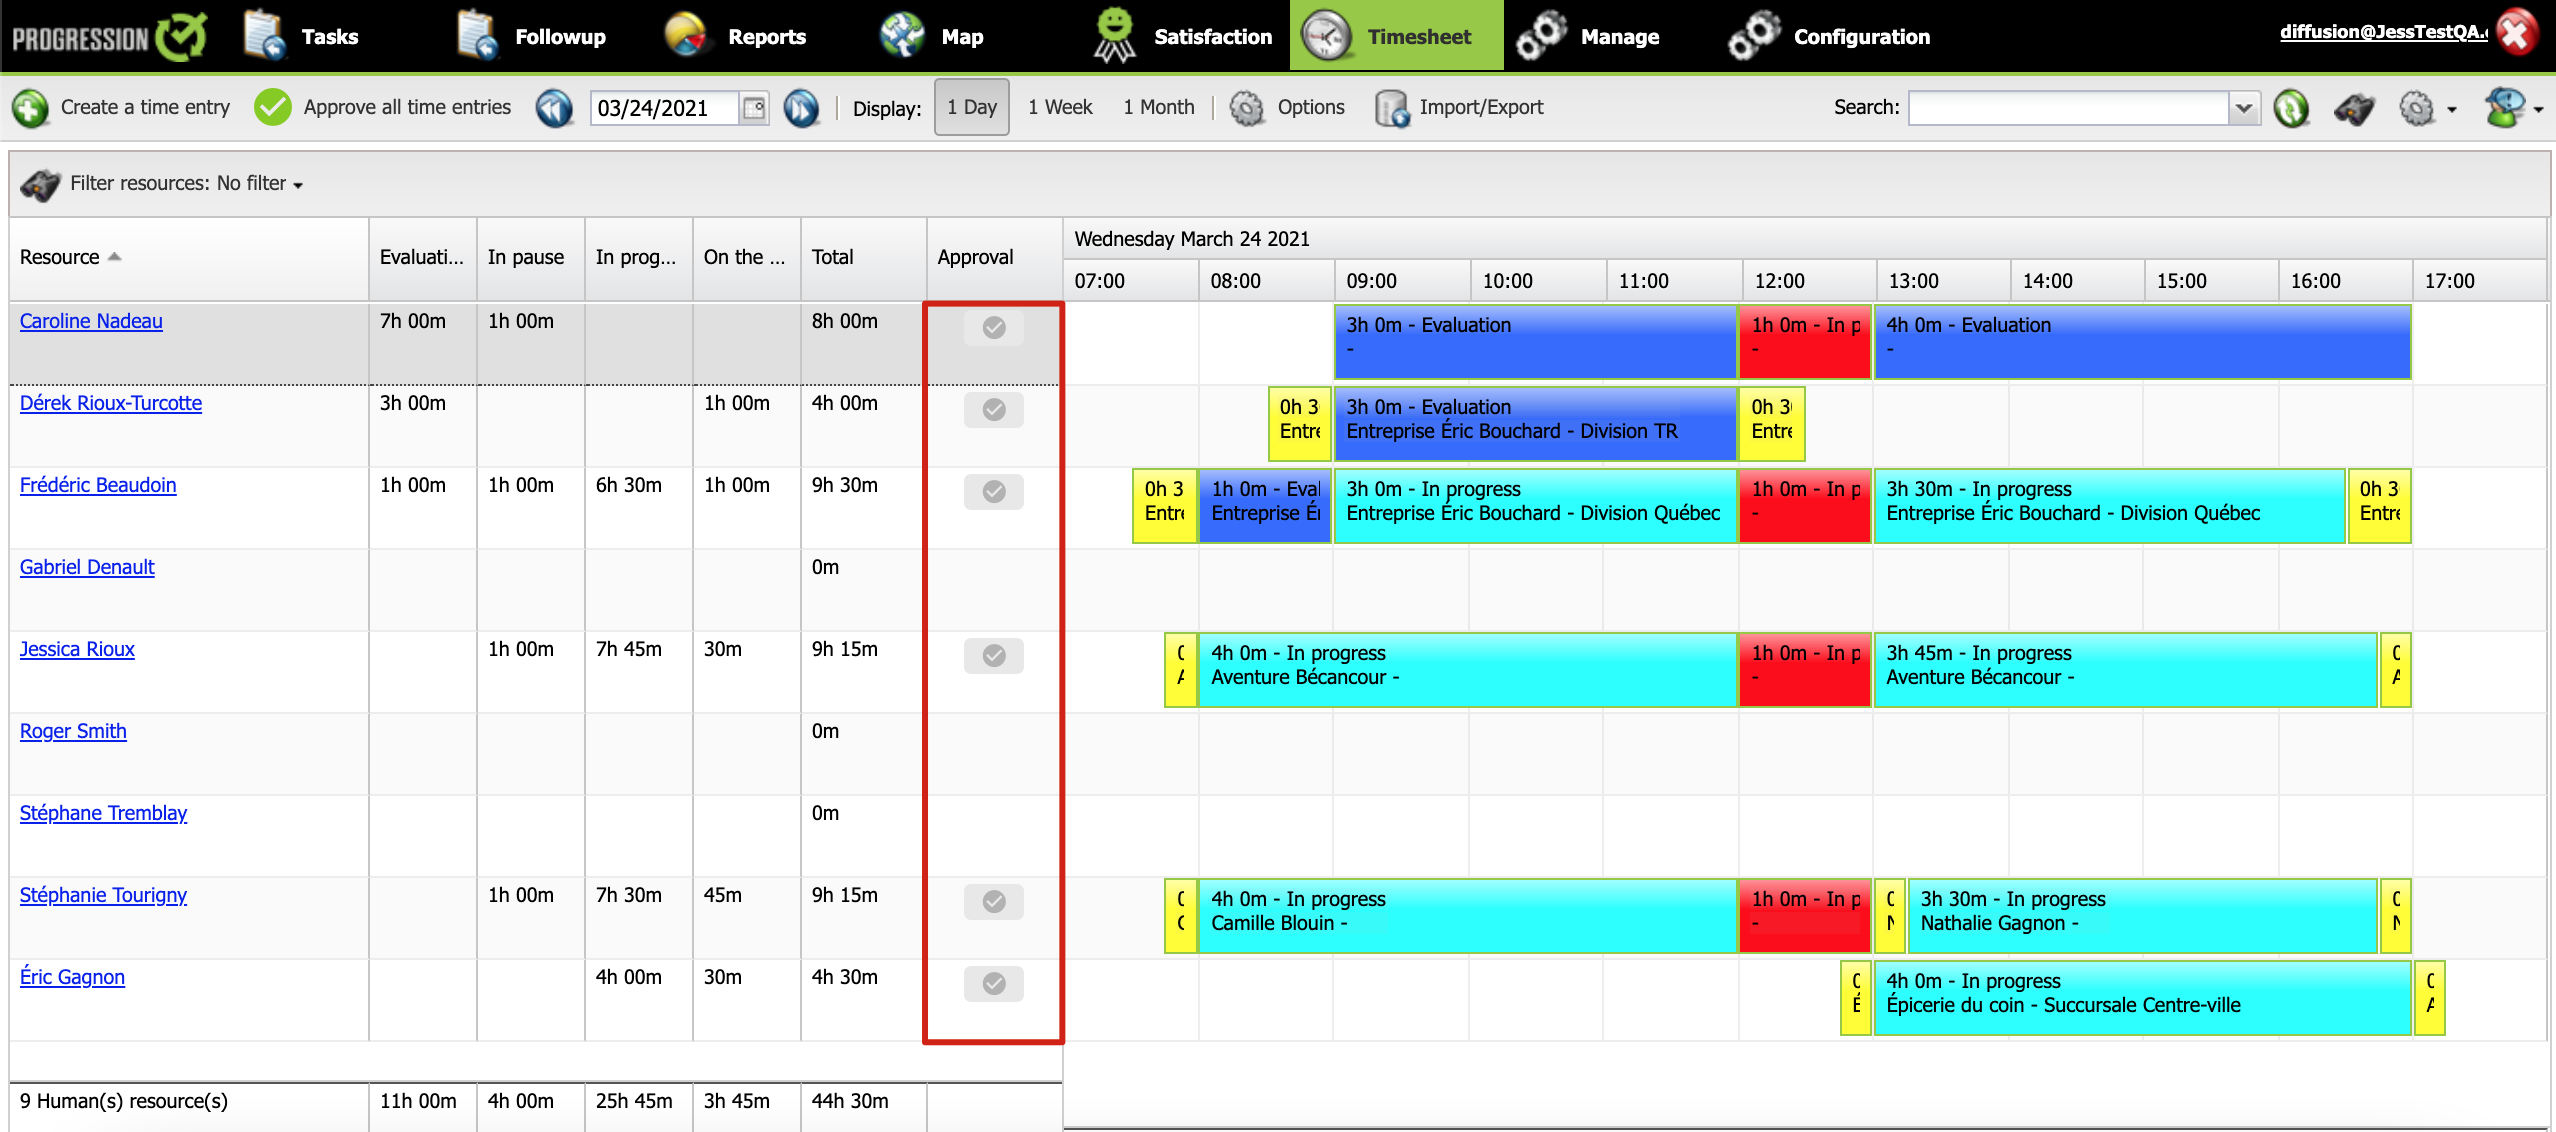
3. Time entries included in the displayed period and for all displayed human resources are now approved.
For this reason, the approval buttons by human resource are now disabled.
All approved time entries are now framed in green.
It is possible to approve time entries for a particular HR group.
For more details, see this article.
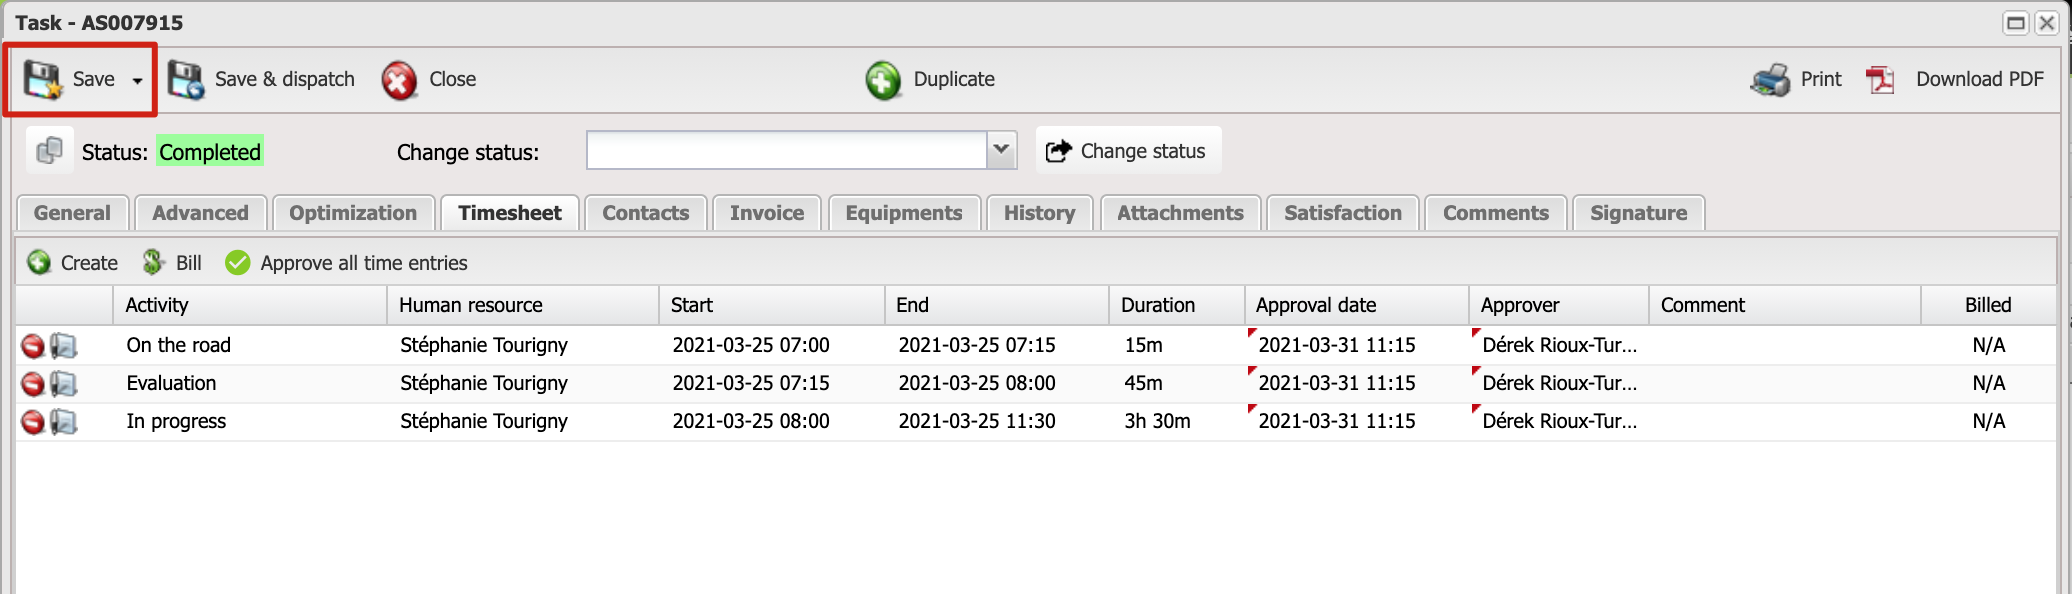
Approve time entries from a task
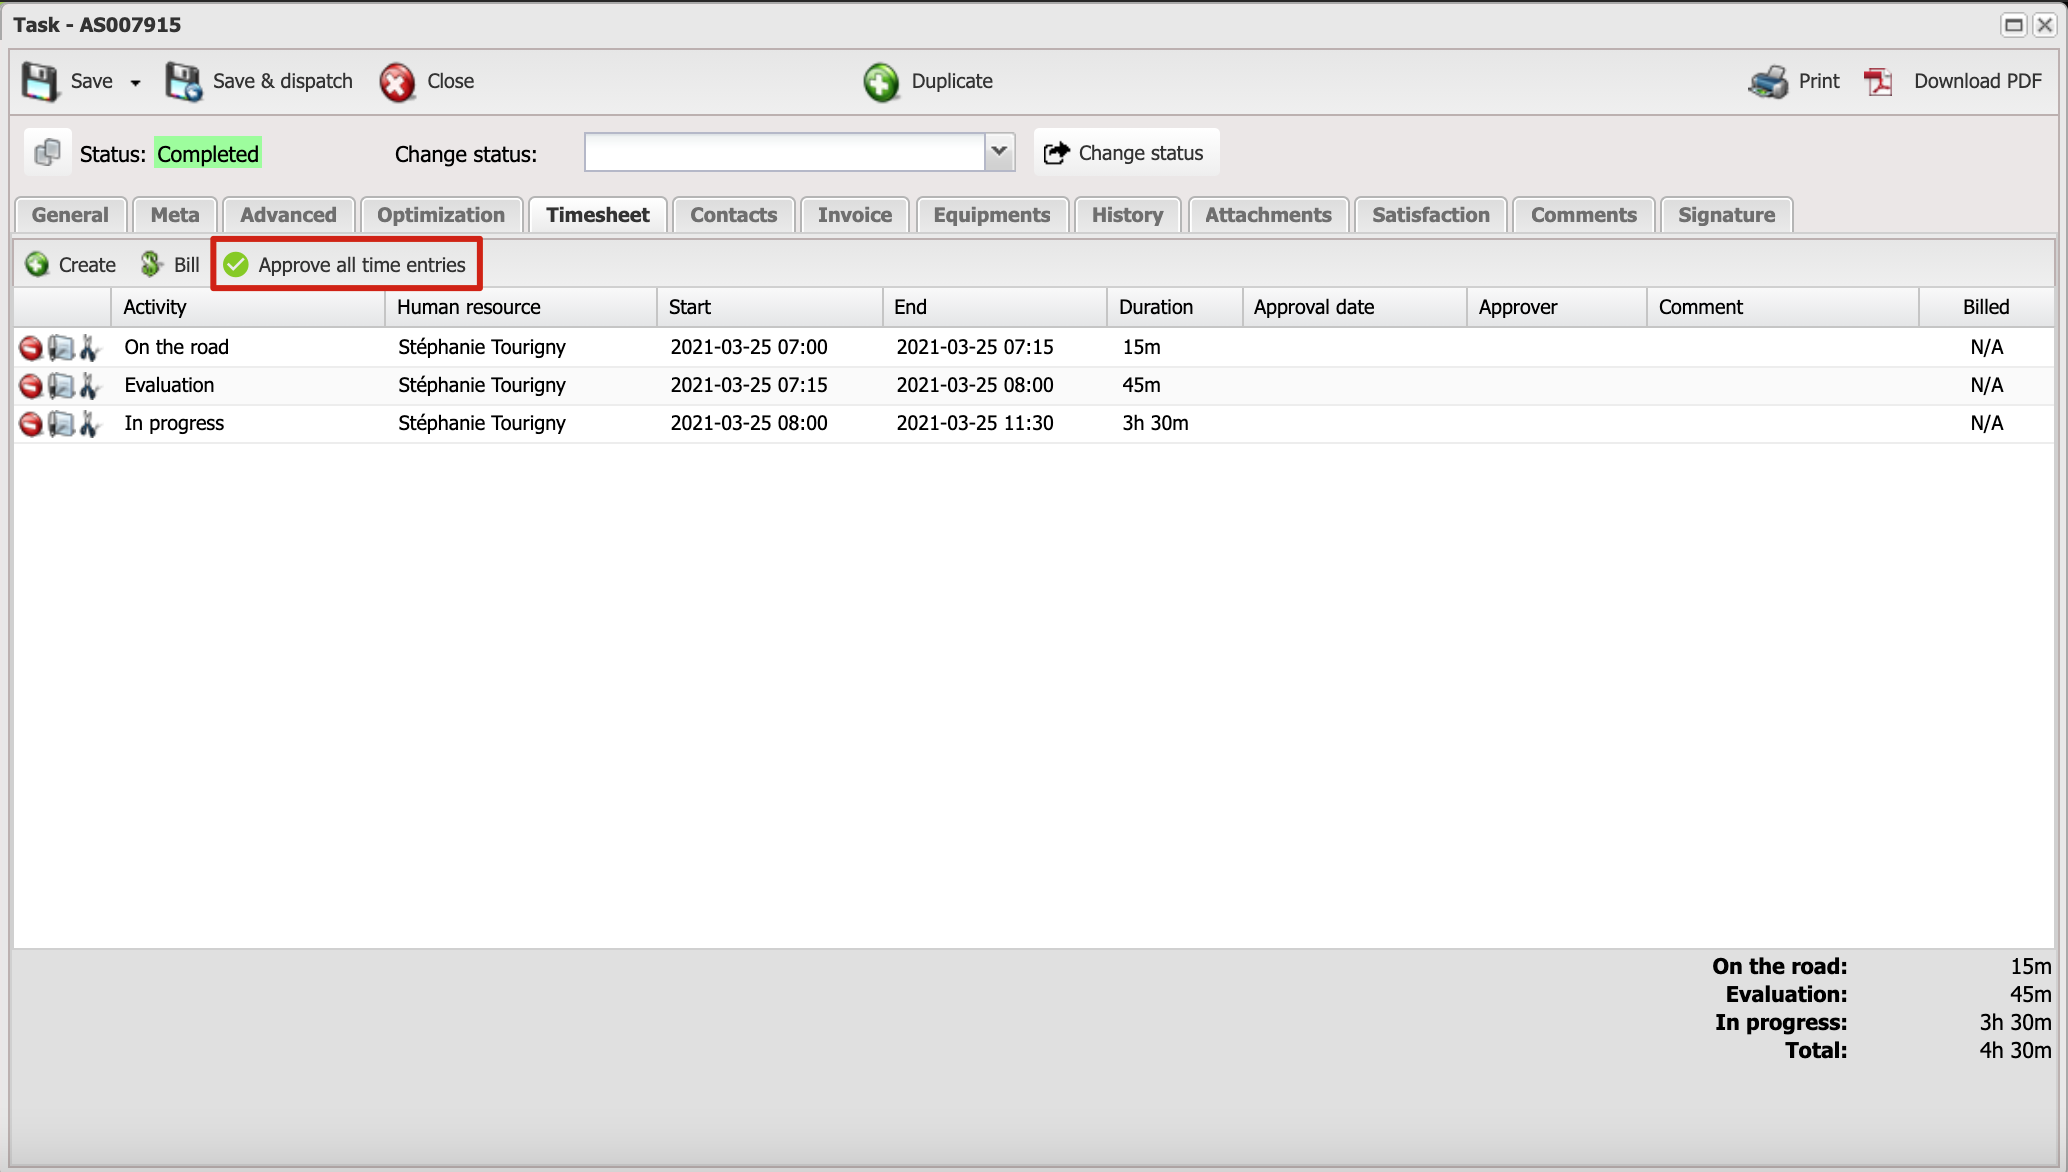
1. Open the card for the task for which you want to approve time.
2. Go to the Timesheet tab.
3. You can now approve the time entries for this task by clicking Approve all time entries.
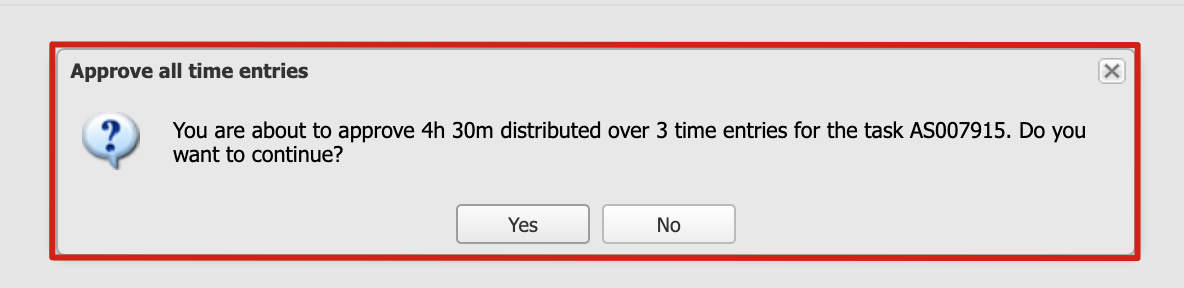
4. A confirmation message will notify you of the total time and the number of time entries that you are about to approve for this task.
Click Yes to confirm the approval.
The approval date and approver name are now displayed in their respective column.

5. Click Save, to save the time approval for the task.
Reject approval of a time entry
1. Open the relevant time entry card.
2. When a time entry is approved, a Unapprove button is displayed. Click on this button.
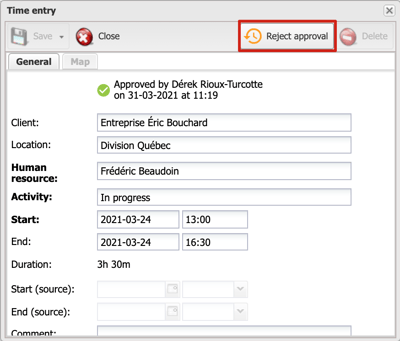
3. The time entry is no longer approved.

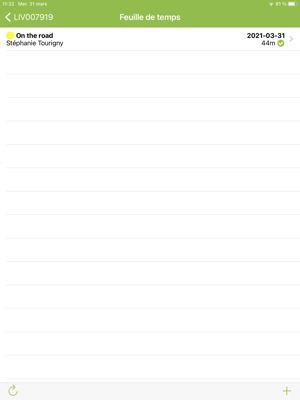
Influence of approval on mobiles
Approval of time entries has an influence on their display on mobile and on the permission to modify.
The ProgressionLIVE application, Android and iOS versions, as well as the ProgressionPUNCH application are concerned.
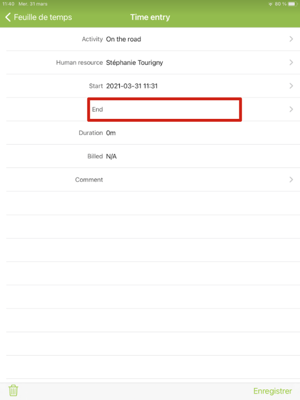
Incompleted time entry
When a time entry is incomplete (e.g. there is no end time):
- it remains modifiable
- it cannot be approved on the web.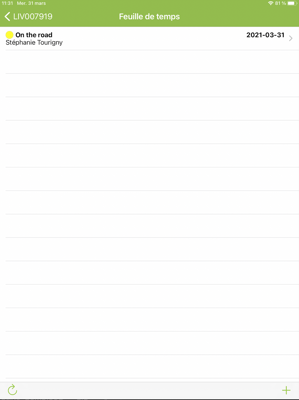
Completed time entry
When a time entry is complete, that is, it has at least a human resource, an activity, a start time and an end time:
- it becomes pending approval
- as long as it is not approved, it can be modified.
Approved time entry
When a time entry is approved:
- the information related to its approval is displayed,
- it is no longer possible to modify it on the mobile or on the web.
An approver must reject the approval to allow the time entry to be changed.