.png?height=120&name=Logotype+Lettrine%20-%20Horizontal%20-%20Renvers%C3%A9%20(1).png)
Here are the steps to follow to create a campaign in the Client satisfaction module.
When activating the Client Satisfaction Module, you will be asked to create your first survey campaign. To do so, follow these steps.
Note : When a role (e.g. Administrator) has access to the Client Satisfaction Module, he has access to all of the module's functionalities. It is not possible to hide some sections of the module for some users.
1. In your ProgressionLIVE account, click on the Satisfaction tab to access the module.
2. Click on Create a campaign.
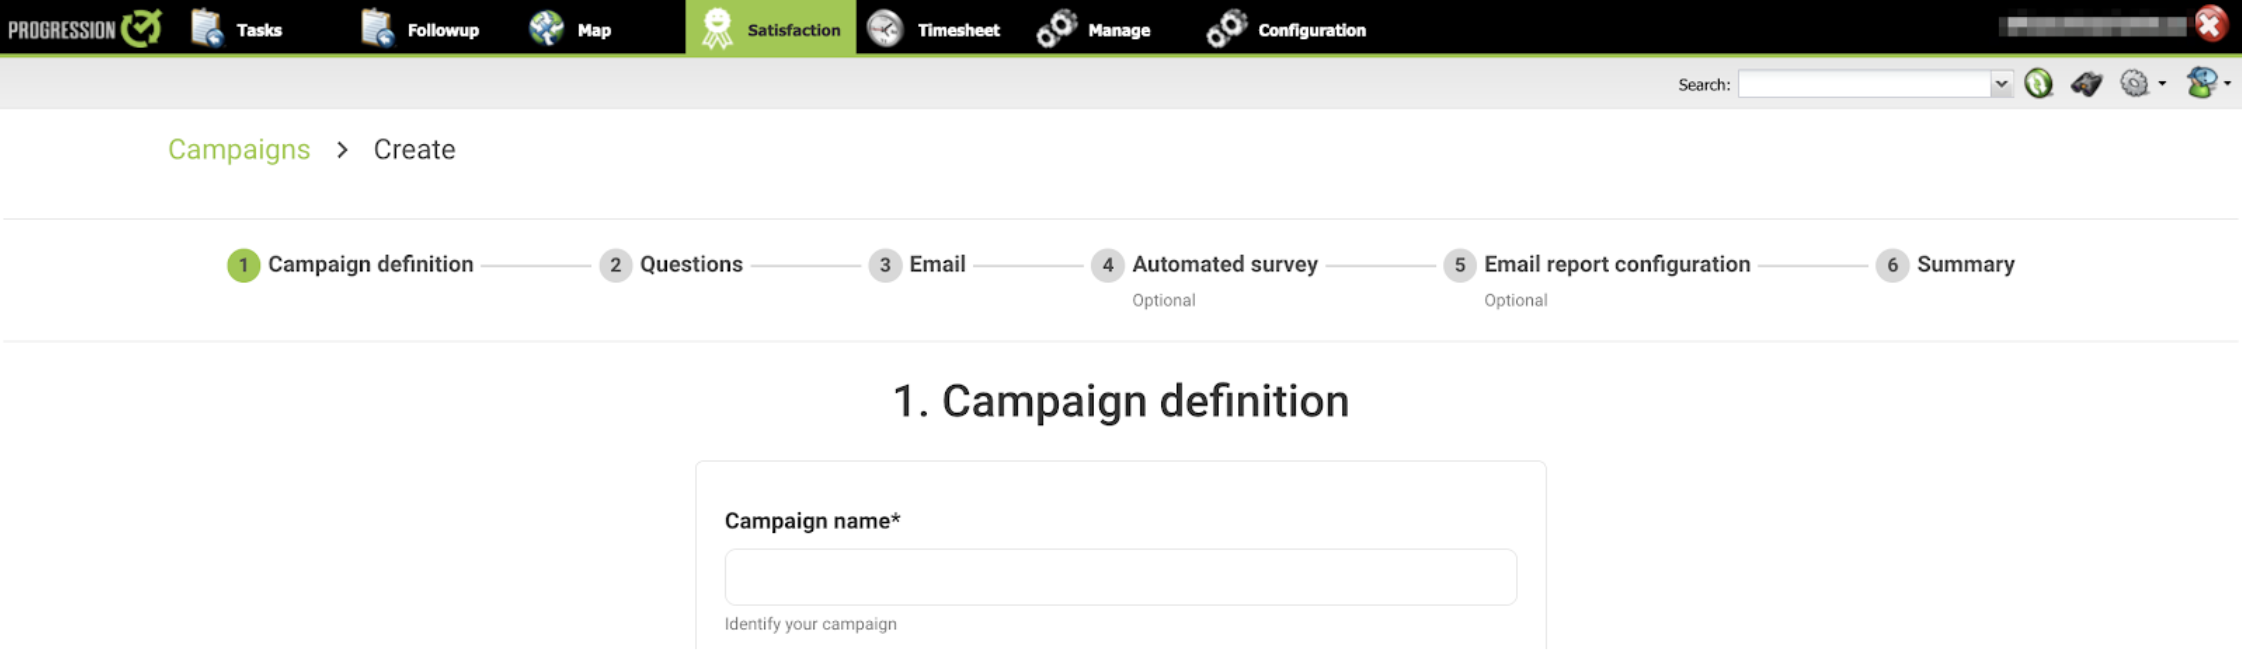
3. Complete the Campaign definition section.
-
- Name the campaign.
- This name will only be displayed in your campaign list.
- Add an image. (optional)
- This image is displayed in email sent to survey respondents.
- Name the campaign.
4. Complete the Questions section.
-
- Indicate the number of questions to be asked in each survey sent.
- If you put 0, the survey will contain all the questions selected in the Category section.
- Select the question categories to include in the survey.
- For each category selected, you can deselect the questions to exclude if necessary.
- In the Measure NPS section, check the option, if desired.
- The NPS (Net Promoter Score) is a factual measure of word of mouth for a brand or product.
- We wrote an article about it : Coming soon.
- Indicate the number of questions to be asked in each survey sent.
-
- In the Redirection URL section, enter the web page URL you want to redirect respondents after the survey. To use our default page, leave this field blank.
- In the Redirection URL section, enter the web page URL you want to redirect respondents after the survey. To use our default page, leave this field blank.
-
- Indicate the email Sender.
- This is the name of the person or organization sending the survey. Example: Your company name
- Indicate the email Subject.
- Give the email a Title.
- Title displayed in the header of the email in bold.
- Write the email Description. (optional)
- Short text displayed under the email title and above the first survey question.
- Indicate the email Sender.
If the survey is sent to a French audience and an English audience, click on the other tab (French) and complete the fields. This step should be done after the previous fields in the displayed language have been filled.
Thus, if automated surveys are configured (see point 6), the survey will be sent to the client in the language of his ProgressionLIVE client file.
6. Complete the Automated survey section. (optional)
This section allows you to schedule survey sending by linking it to the progress of certain task types. To set up an automated survey, follow these steps. Otherwise, click Next.
-
- Check the option "Link the survey to one or more task (s)"
-
- Select the task type to which you want to link the survey.
-
-
- Example : Service Call
- You can select other task types by clicking Add new rule.
-
-
- Select the status or statuses that should trigger the sending of the survey.
-
-
- Example : 600 - Completed and 610 - Completed without signature
- The survey will be sent only once per email address, when the task is progressed for the first time to one of the selected statuses.
- Example:
- Your automated survey configuration is based on the Service Call task type and the statuses 600 - Completed and 610 - Completed (to recontact).
- When you progress a Service Call task to 600, the survey will be sent to the task client.
- If you progress this task to 610, the survey will not be sent again.
- Example:
- It is interesting to put several statuses if several sending scenarios are possible.
- Examples :
600 - Completed
610 - Completed without signature.
- Examples :
-
-
- Add a delay to be observed before sending the survey. (optional)
- Example: for the value 00:12:00, the survey will be sent 12 hours after the task progresses to one of the previously selected statuses.
- Add a mute period to respect. (optional)
- The mute period prevents more than one survey from being sent to the same email address, regardless of the type of task, within a single campaign.
- This option is designed to avoid spamming your clients if you do multiple jobs for them.
- Example :
- You survey clients for Service Call and Installation type tasks.
- You have to do multiple jobs for the same client within the same month.
- You don't want the survey to be sent for all Service Calls and Installation tasks, but rather only once a week.
- You can set a 7-day mute period, so the client will receive a maximum of 1 survey per 7-day period.
- Add a delay to be observed before sending the survey. (optional)
-
- Select the primary email address to send the survey to, then the secondary email address. The secondary email will be used if the field selected as primary email is empty.
- Example :
Primary email : email address in the client file
Secondary email : email address in the location file
- Example :
- Select the primary email address to send the survey to, then the secondary email address. The secondary email will be used if the field selected as primary email is empty.
7. The Email Report Configuration section will be available in the coming months.
8. The Summary section allows you to view all the information about your survey campaign.
-
- Check the information and click Save.
- If you quit your campaign without saving, a validation window will appear.
In summary, to create a campaign, you must complete the following sections:
-
- Campaign definition
- Survey
then save your campaign in the Summary tab.